Chotto Event Quick StartSet up your first Chotto.Event room Chotto Chat QuickstartGet started with Chotto Chat TroubleshootingResolve microphone, display, and sharing issues Frequently Asked QuestionsAnswers to common event questions

Chotto Event Quick Start

Getting started with an event

The first time you open a Chotto.Event room, follow the on-screen prompts to allow microphone access.

View microphone access screen
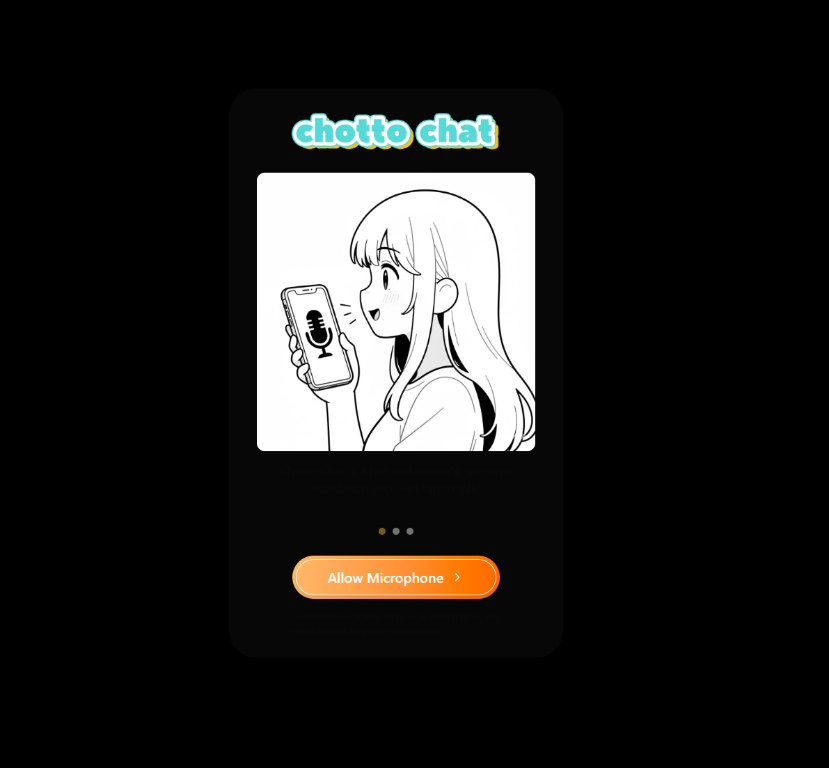
Chotto.Event first-use screen with an Allow Microphone button
Allow microphone access when prompted.

Select the audio input source you will use for translation.

View browser permission screen
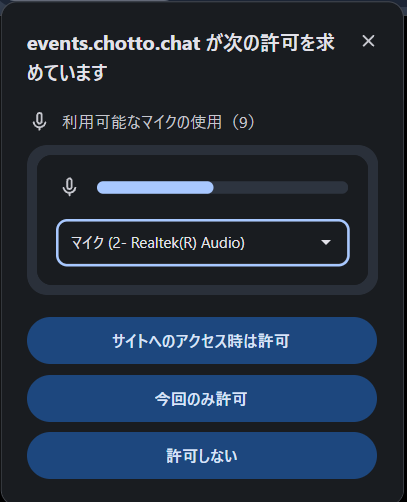
Browser microphone permission prompt with an audio input device selected
Choose the microphone or audio interface connected to the event computer.
  1. Open the event link from your organizer, or create a new room, in your preferred browser. Google Chrome is recommended for stability.
  2. Select the language you want to display from the language control on the bottom toolbar.
    View language control
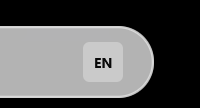
    Language button on the bottom toolbar
    Open the language control on the bottom toolbar.
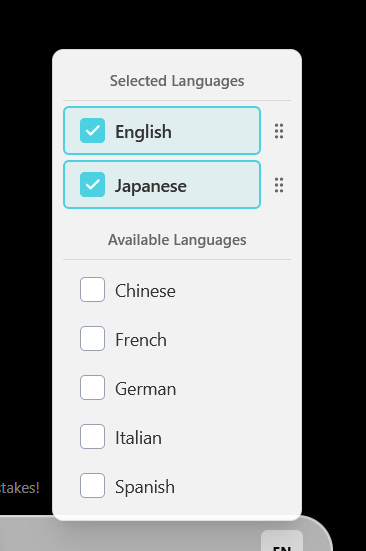
    Choose from English, Japanese, Chinese, French, German, Italian, or Spanish.
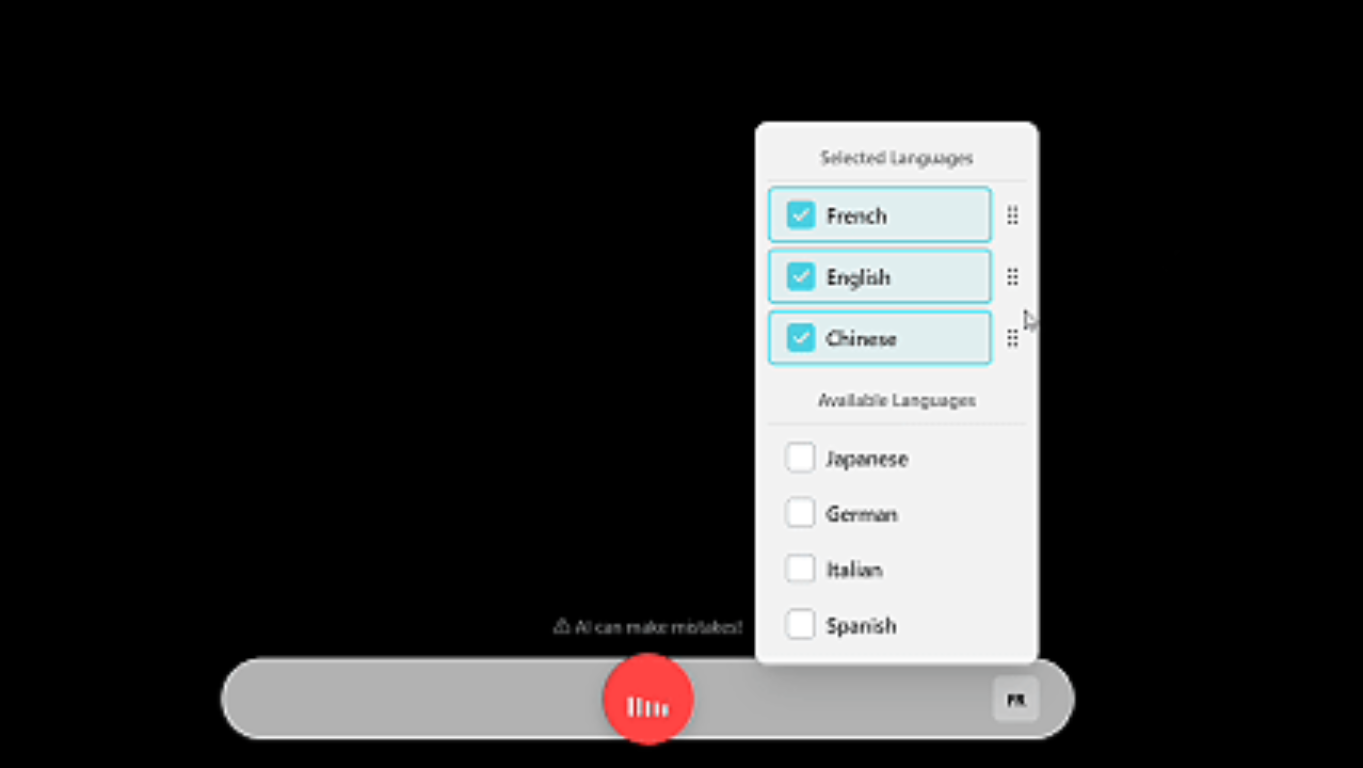
    View language menu
    Language menu showing selected and available translation languages
    Select the languages you want to display.
  3. Click the microphone button in the center of the bottom toolbar to start capturing audio. If the browser asks for microphone access, allow it and choose the correct input source.
    View microphone toolbar

    Bottom toolbar with the active microphone button highlighted in red
    Click the center microphone button to start capturing audio.
  4. When the microphone button turns red, Chotto.Event is capturing audio. The transcription appears at the top of the screen.

Adjusting translation settings

You can change translation settings while the event is running.

  1. Open the language menu on the bottom toolbar.
  2. To show a language, select the checkbox to the left of its name. To hide a language, clear its checkbox.

Drag the handle beside a selected language to change the order in which languages appear.

Language Reordering
Animation showing translation languages reordered by dragging their handles
Drag selected languages to change their display order.

Using Chotto.Event during a live event

Chotto.Event is designed to run hands-free during your event. After setup, display the event room on a monitor and present as usual.

Advanced clients can use the administration panel to review or edit translations, control microphone settings, and access other advanced settings.

Chotto Event クイックスタートChotto.Eventのルームを設定 Chotto Chat クイックスタートChotto Chatの使い方 トラブルシューティングマイク・表示・共有のトラブルを解決 よくある質問イベントに関するよくある回答

Chotto Event クイックスタート

イベントの始め方

初めてChotto.Eventのルームを開くときは、画面の案内に従ってマイクの使用を許可してください。

マイクへのアクセス許可の画面を見る
マイクを許可するボタンが表示されたChotto.Eventの初回画面
表示されたら、マイクの使用を許可してください。

翻訳に使用する音声入力機器を選択してください。

ブラウザーの許可画面を見る
音声入力機器を選択するブラウザーのマイク許可画面
イベント用パソコンに接続したマイクまたはオーディオインターフェースを選びます。
  1. 主催者から届いたイベントリンクを開くか、新しいルームを作成します。お好みのブラウザーをお使いください。安定した動作のため、Google Chromeをおすすめします。
  2. 画面下部のツールバーにある言語メニューから、表示する言語を選択します。
    言語選択ボタンを見る
    画面下部のツールバーにある言語ボタン
    画面下部の言語メニューを開きます。
    英語、日本語、中国語、フランス語、ドイツ語、イタリア語、スペイン語から選択できます。
    言語メニューを見る
    選択中および選択可能な翻訳言語が表示されたメニュー
    表示する言語を選択します。
  3. 画面下部のツールバー中央にあるマイクボタンを押して、音声の取得を開始します。ブラウザーにマイクの使用を確認された場合は許可し、正しい入力機器を選択してください。
    マイクのツールバーを見る
    赤く点灯したマイクボタンがある画面下部のツールバー
    中央のマイクボタンを押して音声の取得を開始します。
  4. マイクボタンが赤くなると、音声の取得が始まります。文字起こしは画面上部に表示されます。

翻訳設定の変更

イベント中も翻訳設定を変更できます。

  1. 画面下部のツールバーから言語メニューを開きます。
  2. 言語名の左にあるチェックボックスを選択すると表示され、チェックを外すと非表示になります。

選択した言語の横にあるハンドルをドラッグすると、表示順を変更できます。

言語の並べ替えの例を見る
ハンドルをドラッグして翻訳言語の順番を入れ替えるアニメーション
選択した言語をドラッグして表示順を変更します。

イベント中の使い方

Chotto.Eventは、イベント中に操作を続けなくても使えるよう設計されています。設定後、モニターにイベントルームを表示すれば、あとは通常どおり進行できます。

上級者向けの管理パネルでは、翻訳の確認・編集、マイク設定などの詳細設定を行えます。